
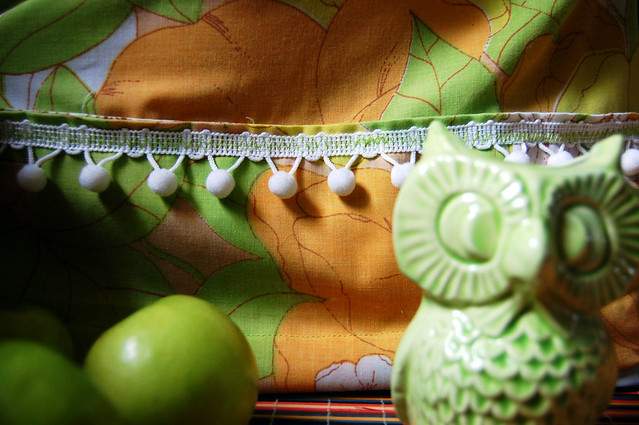
I finally got the KitchenAid stand mixer that I've wanted for Christmas this year. I've used it to make a few loaves of bread and a cake or two; so while this super fancy appliance is amazing and all, it has A LOT of down time. In that down time, it seems to attract every single speck of dust our tiny condo has to offer. UGH.
The last time I went thrifting, I found an amazing vintage pillowcase and snatched it up because I hoard vintage craft supplies like it's no ones business.
Dave suggested that I make a cozy for the mixer that day when I got home. I washed the pillow case and threw it on top of the mixer; genius, right?
It looked so sad and shabby. I pinned a little here and there over then next few weeks.
Last week, I decided to sit down and figure out how the pillowcase could be turned into a cozy.
This is what happened:

-1 vintage pillowcase
-2 yards of vintage velvet ribbon
-2 yard vintage pompom trim
-thread
-sewing machine
-interfacing (I didn't use it, but I should have)
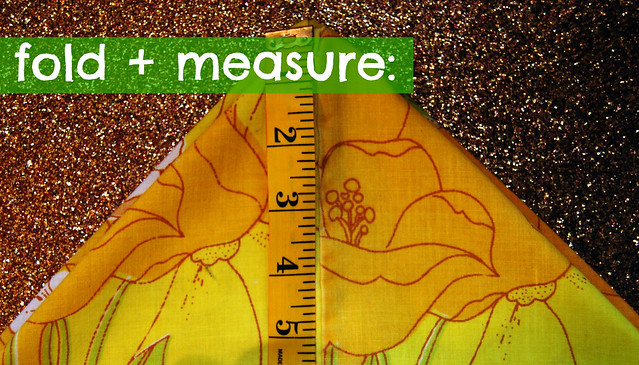
Step 1:
Stick your two pointer fingers into the inside corners of the pillow case and press them together; the seams should be in the center of the fabric and you will have two triangles at the closed end of the case.
You can iron now, if you're super fancy (I just hand pressed it).
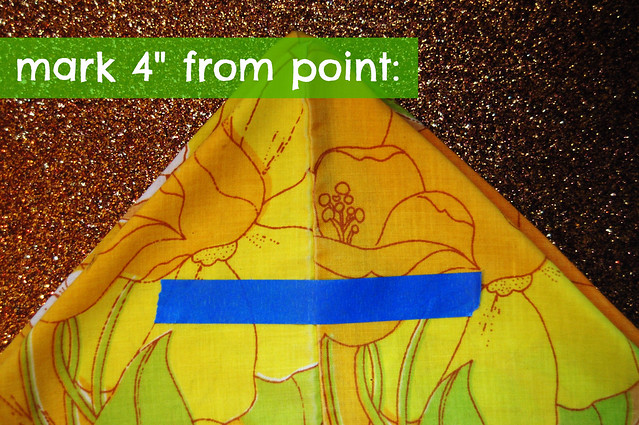
Step 2:
Measure 4' from the tip of the triangle and mark it somehow. You could use pins or chalk, whatever. I had painter's tape on my work table, so that's what I used.
Separate the newly formed triangles, and stitch across each of them at the 4" mark. This will give the top a little structure.

Step 3:
On the inside of each of the triangles (where they face each other), Make another mark at 2" from the tip and pin in a 18" piece of ribbon.

Step 4:
Stitch around the edges of each triangle to secure the ribbon.
(Do a better job then I did; I can be a sloppy sewer.)
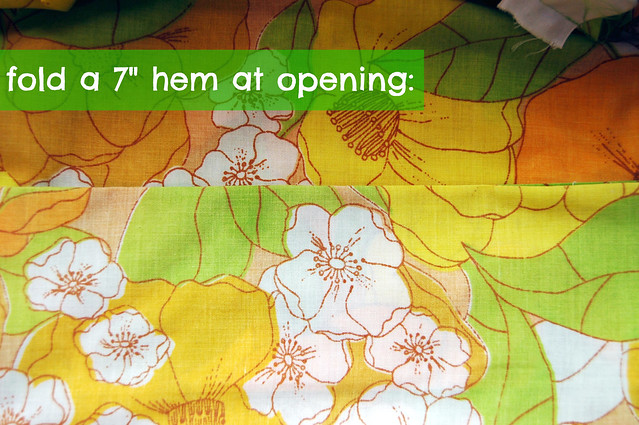
Step 5:
Fold and press a 7" cuff at the bottom (opening) of the pillowcase.
If you are using interfacing this is where you would iron it on.
Step 6:
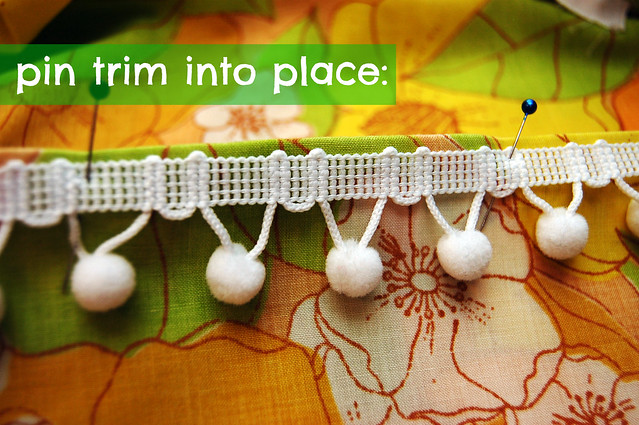
Pin trim to the top of the cuff.
Secure the cuff and trim using a zigzag stitch.
Step 7:
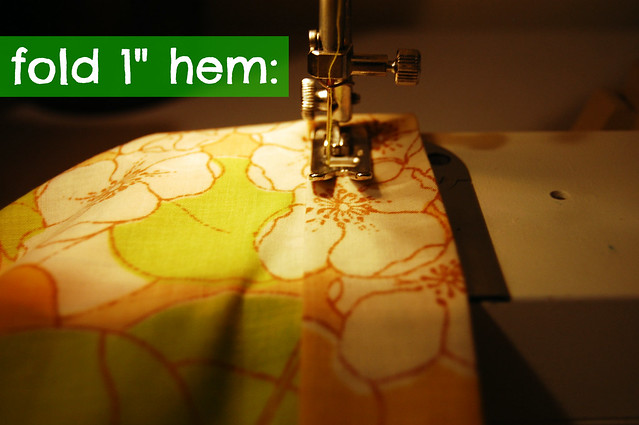
Fold, yet another, 1" hem at the bottom (opening) of the case. This will give the cozy a little extra weight and structure.
And that's it!!! Now, your super expensive appliance won't get coated in that wierd sticky kitchen dust! YAY!!!!!
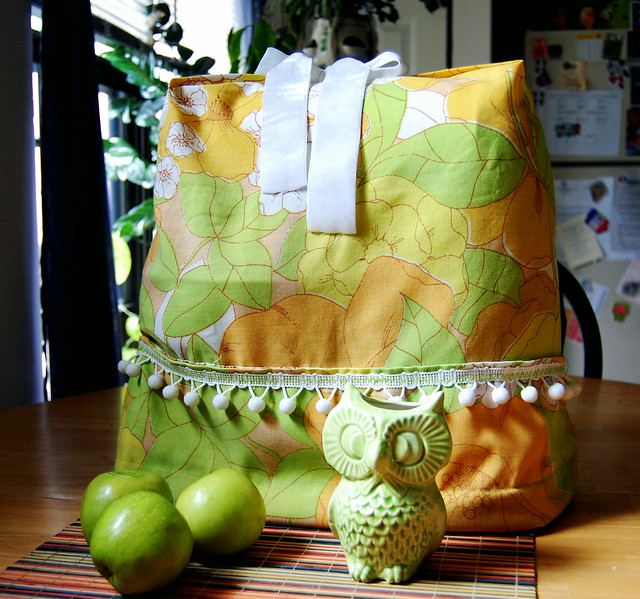
If you have any questions, when attempting this you can contact me and I'll walk you through what I did!!!
If you make a cozy, leave a link in the comments! I'd love to see it!!!



17 comments:
This is adorable! I've been looking for something to cover my Stella (my KitchenAid's name >.<) because I'm sick of her looking all shabby. LOVE this!
So freaking brilliant. I love this! Can I wear your Kitchenaid cozy sometime? lol
That rocks! I just knew that you were making curtains but I was wrong. So much better than curtains. I wish I had you around to make something to cover up our awful modern juicer.
i love it! i need to buy a mixer and then i'll make it a cozy...
I LOVE THAT FABRIC!!! Beautiful!
I just recently stumbled upon your site and am LOVING it! Great DIY!
cute!! i think i need to make one for my stand mixer! you are right, it seems to attrach every bit of dirt in the house!
Very cute, Robbie.
Oh, this is great! I love the colours in that vintage fabric - just wonderful ^_^
Great idea you put together. Love that fabric and the embellishments too! Thanks for sharing your tutorial!
That looks awesome! I seriously need one. My kitchen aid is a deep blue and collects all kinds of nasty bits. This is such a great idea!
How inventive. Wish I had faith in my details, as you do. Great job!
whoa! supersuper love it!! the pillow case fabric is amazing also!!!
Ahh, so cute! If I ever get the KitchenAid I've been dreaming about, I'm totally going to make a cosy for it.
In a Christmas-induced moment of weakness, I gave my vintage KitchenAid mixer to my sister. Because I'm crazy, I suppose I'll make one of these for her too. So cute!
Wow. That looks really, really good. I should use this tutorial to help me make a pretty case for my sewing machine!
Robbie, you're so amazing! That fabric is to die for, also.
Post a Comment