knitxcore.: crafty
Showing posts with label crafty. Show all posts

Wednesday, December 05, 2012

Christmas Knitting Swap!!!!

Christmas knitting party donutsssss DSC_0152

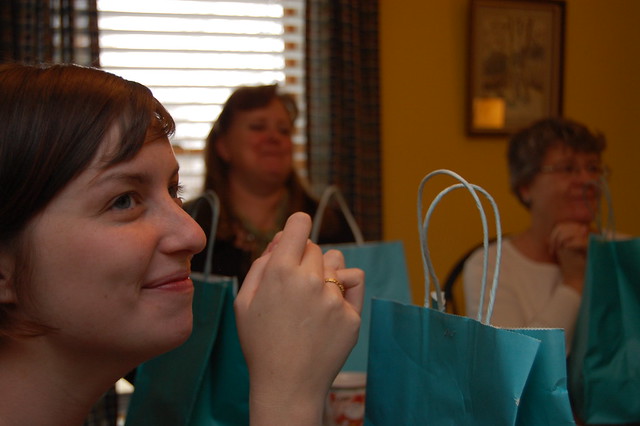
On Sunday, our Tuesday night knitting group met up to finalize our Christmas in July swap! We basically ananonymously traded yarn, and then patterns and finally a finished projects. It was super clever and the most fun!

Our lovely host, Lea, made some incredible treats for us to eat while we sat and chatted before the big exchange. It was great to finally catch up with everyone after a soul crushing semester at a new school. I was so excited to see everyone!

DSC_0189 julia CollageDSC_0187

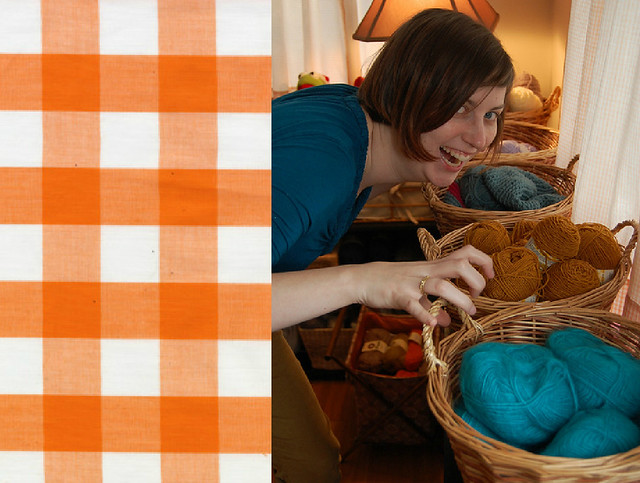
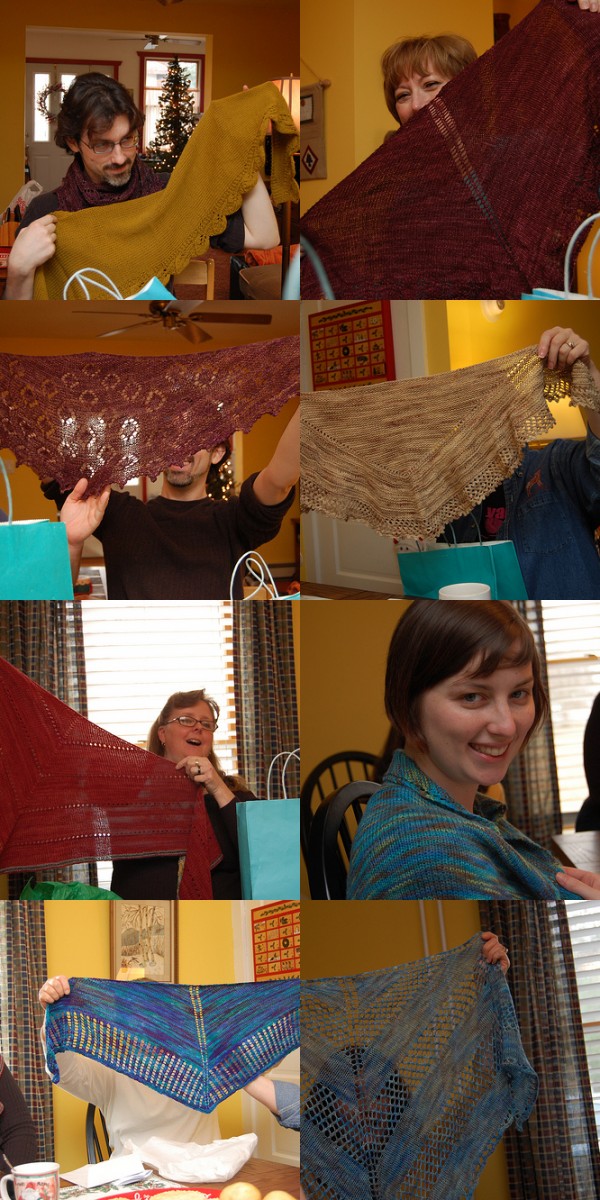
Can you even stand how stinkin cute how cute Lea's house is? It looks like a yarn shop! Julia is pretty adorable too! Eventually, we got around to swapping gifts! Shawls for everyone!

My creation

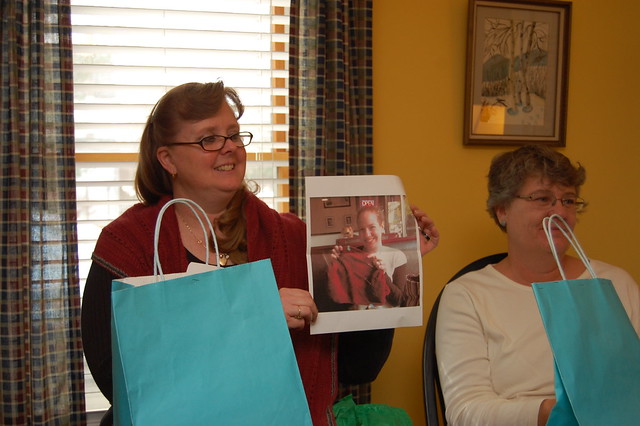
There was even a guest appearance from an estranged West Coast knitter whom we all adore and miss!

DSC_0168DSC_0155DSC_0154

After sharing our stories and making up for lost time, it was time to pack up our shawls and hit the road!

DSC_0213

All in all, it was a great time with great friends that I'm so thankful to have in my life! You're all the greatest!

Friday, June 08, 2012

Doing stuff via Instagram!


I been working very hard on an amazing creative project that's eating up all of my spare time! I'm not complaining, it will be absolutely worth it and it's an incredible opportunity, possibly one of the most exciting things that's ever happened to me.

Unfortunately, between that and working a full time day job, that doesn't leave me with a ton of time to play. However, I did take a few spare moments to make a fancy dinner here and there, brew some sun tea and even try out a few new crafting techniques. For someone that rarely wakes up before 11am, that's quite a list of accomplishments, right?

Instead of just posting links to other blogs about stuff that looks cool, I decided that I would use today to share some things from other blogs that I've tested out personally.

Sound good? Here we go...


We all know I'm awful at taking food pictures; add instagram filters to the mix and it's even worse. As gross as my picture makes it look, Veggie Mama's "Cheaty, Easy, Quick Sun Dried Tomato Ravioli" was incredible! It was my first time using wonton wrappers and the process was totally painless. DO NOT skip out on the heavy cream sauce either, I thought we might to save a few calories, but it was so tasty! Definitely worth the minimal effort!


Yesterday, we spent a ton of time working on our little postage stamp sized garden. We planted a bunch of marigolds and other super sweet flowers, and while we were digging holes and planting plants Miss Indie's Autumn Orange Sun Tea sat on the ledge next to us brewing.. I bought decaf tea bags, because I'm still steering clear of that stuff (very few migraines lately!) and I used a few extra cloves because I love them. After getting all sweaty and grimey outside, this was such a refreshing treat!


Kellyn and I haven't had a crafternoon in ages! While wandering the aisles of Michaels the yesterday trying to pick pick our project du jour, I remembered My Paper Crane's Pour-paint pots and we quickly snatched up all of the things that we would need to make these lovelies. Kellyn started out with a very sophisticated stencil but quickly gave up because the poured paint looked so cool! It's so simple and the results seem pretty great. I don't have any FO shots yet because the pots are still drying; so much paint! We bought the cheapest stuff (50 cent acrylic) and used all four bottles plus a little Martha Stewart glitter paint on four pots, so it was pretty budget conscious, especially for us. I can't wait to see them all dried out and ready to go!

Even in my super busy schedule, I'm still finding time to enjoy the process because that's what this crafting thing is all about, right?

To keep up with what I'm doing day-today, follow me on Instagram -- Username: KnitXcorE

What are you working on?

Tuesday, June 05, 2012

Time-Machine Tuesday: The Illustrated Hassle-free Make Your Own Clothes Book.

DSC_0199-001

One morning, I woke up with an incredible feeling of emptiness. Something was missing from my life; something was missing from my wardrobe.  I have the fits of insanity if I wake up before 10AM. My thoughts are kinda muddy or slushy or something.

If I actually find a way to function, it usually involves sleep walking to the computer and writing down a bunch of those in-between sleep and awake ideas, just so I don't lose them.

DSC_0204-001

This particular morning, I had been fixated on caftans/dashikis. Maybe I watched the musical Hair before I fell asleep. Maybe I really liked the ones that were dismissed by Michael Kors on Project Runway as "the Brady's go to an Autumn Harvest festival". Either way the thought permeated my existence. I searched for patterns and books that seemed authentic (read: vintage) because I obviously couldn't exist without a super bohemian ethnic print top.

dashiki party
(pictures from RogueRetro on Etsy)

Remember that I'm still half-asleep.

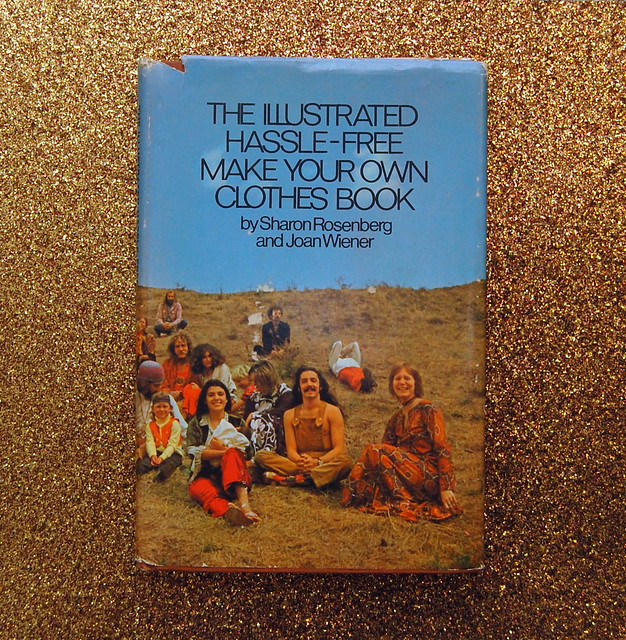
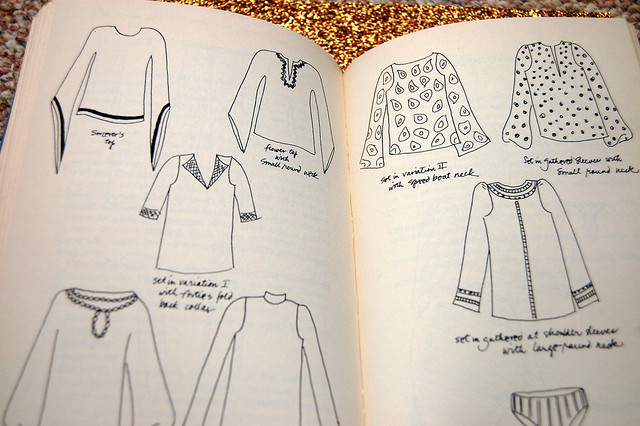
I eventually came across this book, The Illustrated Hassle-free Make your Own Clothes Book, and that became my new obsession. I thought it would be a really useful and fun read (and it is). It makes sewing simple garments really accessible and smart. I adore it.

DSC_0203

Even if I never actually make my dream dashiki, I'm still super glad I found this book!

Friday, October 28, 2011

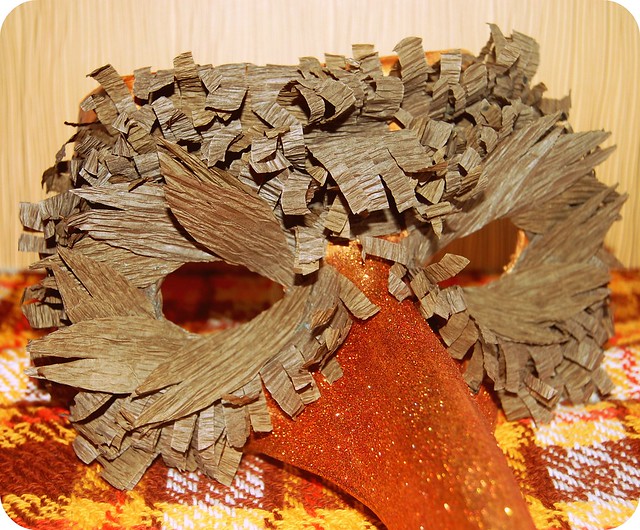
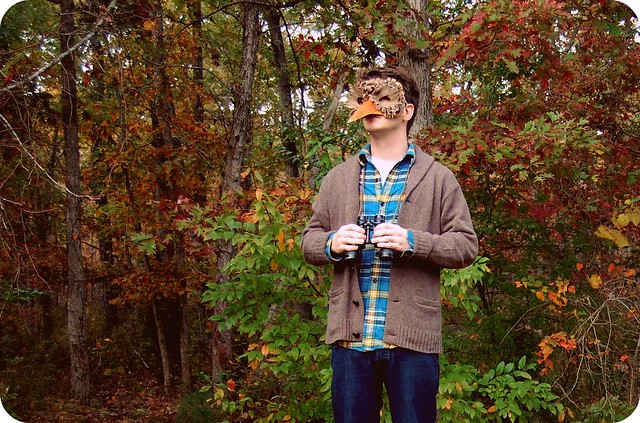
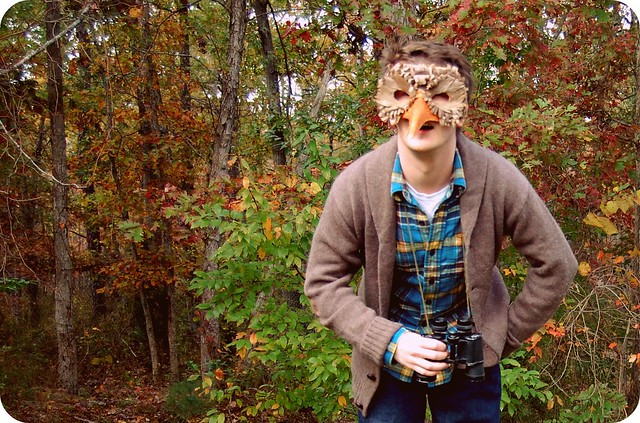
finished: bird mask.

finished: martha stewart bird mask.

finished: martha stewart bird mask.

finished: martha stewart bird mask.

finished: martha stewart bird mask.

I FINISHED IT! YAYAYAY!!!!!!!!!!


▲▼▲▼▲Project Particulars▲▼▲▼▲

Inspiration:

Martha Stewart Living, October 2009

Materials:

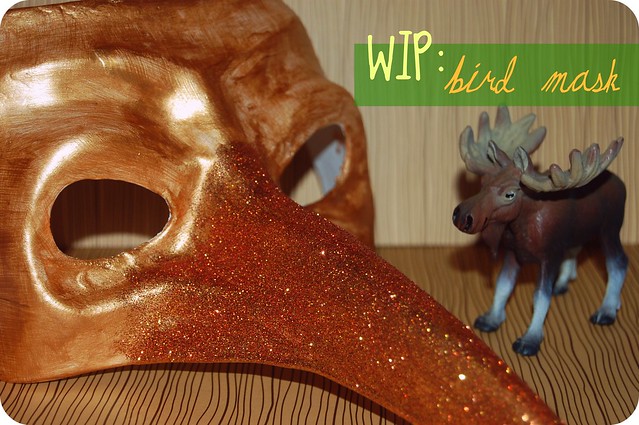
♥Bird Mask from MardiGrasOutlet.com
♥Gold Acrylic Paint
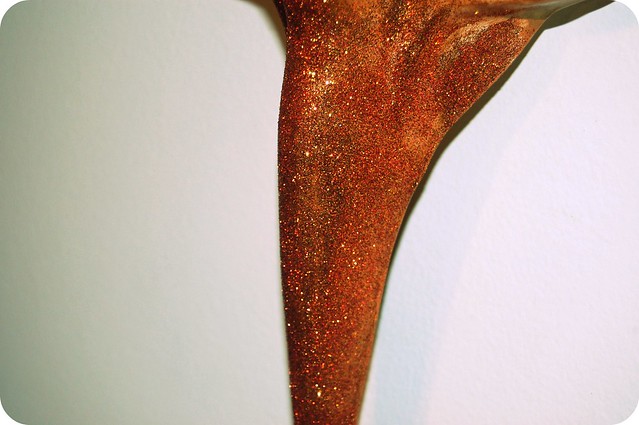
♥Martha Stewart Glitter in Fire Opal
♥Brown Crepe Paper

Time:

♥Over 3 hours

Final Thoughts:
I really took my time making this. I did a little work on it every couple of days. I'm really happy with the results. I can't wait to wear this to work tomorrow!

Coming up...

-MORE Vintage Halloween Inspiration
-A Haircut
-and maybe a finished sock?

...Stay Tuned!!!

Tuesday, October 25, 2011

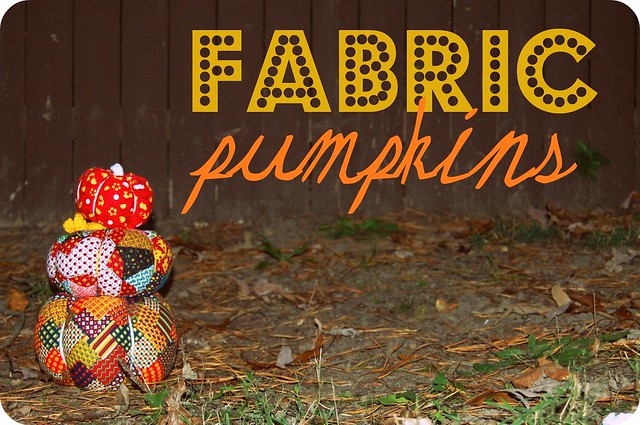
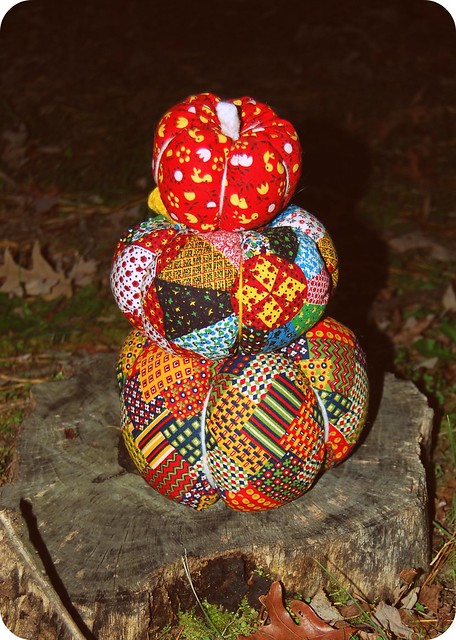
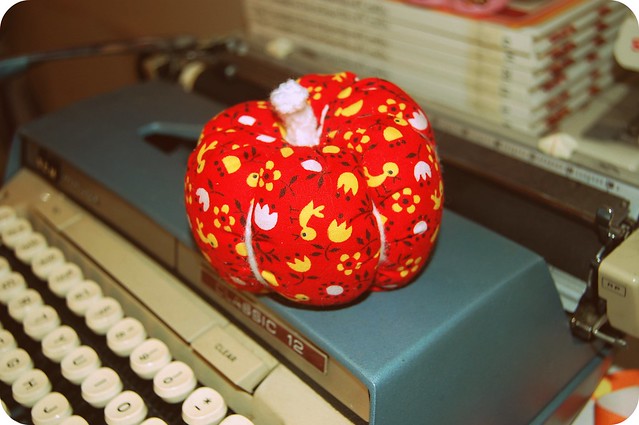
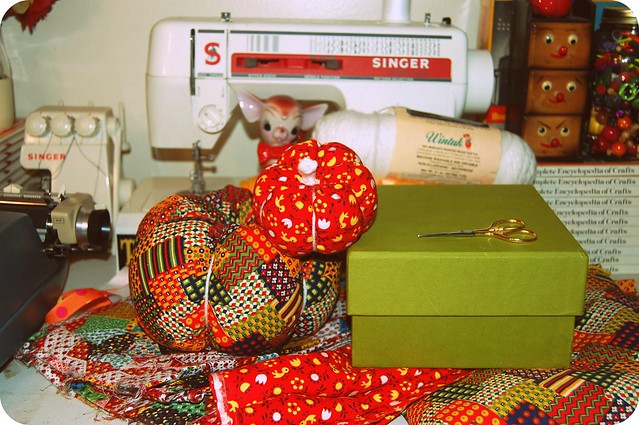
finished: fabric pumpkins.

finished: fabric pumpkins.

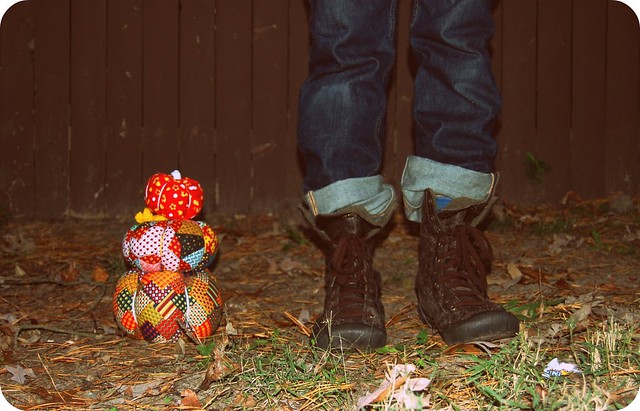
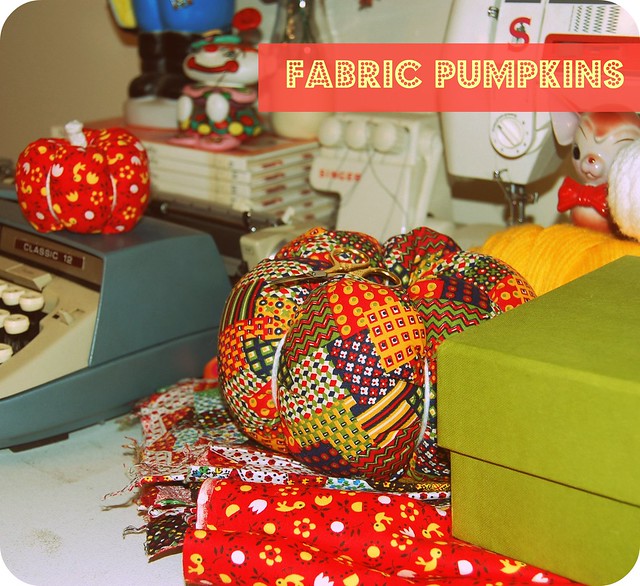
When I first shared the pictures of these little guys' they were still in progress but I thought that they deserved a proper FO photo shoot. The fabric was perfect! I saw it on Etsy and bookmarked it long before making the pumpkins, but I had always sort of had them in mind. I knew that if I had made them out of anything else I would have been disappointed, so I bought the fabric and I couldn't be happier! It's all vintage and I got quite a lot of yardage; this is going to see me through quite a few holiday projects.

finished: fabric pumpkins.

▲▼▲▼▲Project Particulars▲▼▲▼▲

Inspiration:

Fabric Pumpkin Tutorial by Danielle Thompson

Materials:

♥Vintage Fabric from Etsy seller D'lish's Designs
♥Polyfill
♥Yarn
♥Doll or Tapestry Needle

Time:

♥Twenty minutes to a half-an hour (each)

Final Thoughts:

I loved this project! It was super simple and I could make them while watching TV. HOWEVER, the doll needle is very sharp. I was making some white ones to sell at a event and I stuck the needle through my finger, drenching all but one of them in blood. Totes gory, right?! I hate scary things, so I threw them out.


finished: fabric pumpkins.

What are you working on?

<3

Robbie.


Coming up...
-the finished Bird Mask.
..
-MORE Vintage Halloween Inspiration
-A Haircut
-and maybe a finished sock?
...Stay Tuned!!!

Monday, October 17, 2011

Guest Post @ Sparrows and Arrows.

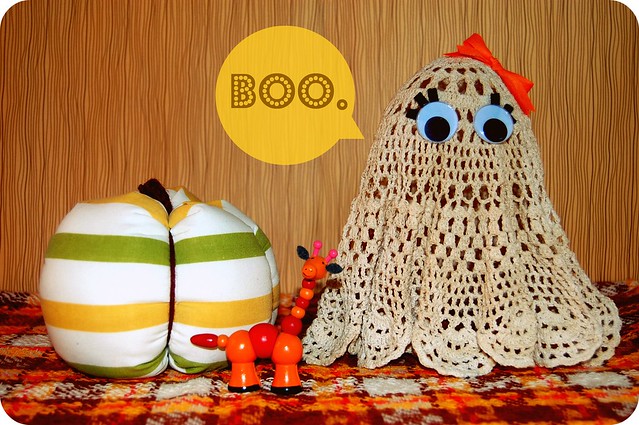
finished doily ghost.


Hey!

I did a guest tutorial @ Sparrows and Arrows today! If want to learn how to make the adorable doily ghost in the picture above, swing by! Tell'em Robbie sent ya!

<3
Robbie.


Wednesday, October 12, 2011

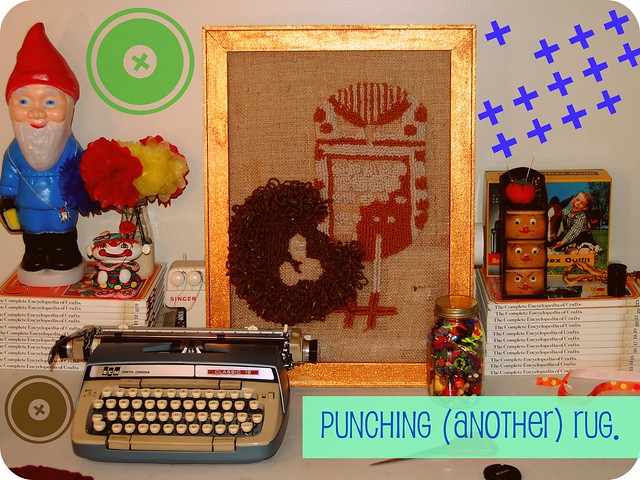
WIP: punching another rug.

WIP: rug punch.

WIP: Rug Punch.

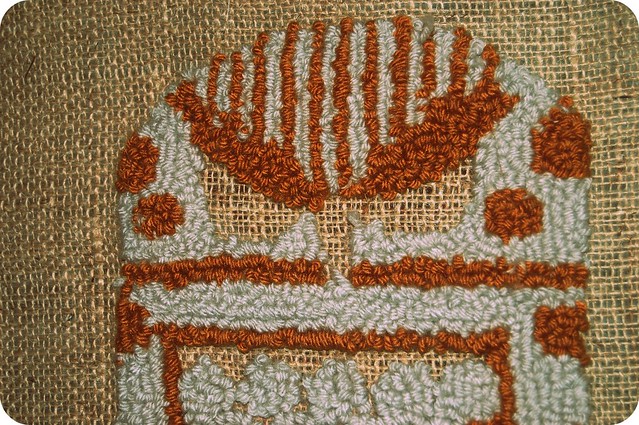
I've been hunched over this rug for 3 hours now. It's due next Wednesday, so I have to get moving. My back hurts and I'm starving so this is all you get today.

haha.

<3
Robbie.

Coming up...
-the finished Bird Mask.
..
-Vintage Halloween Inspiration
-a pile of Finished Fabric Pumpkins
-A Haircut
-and maybe a finished sock?
...Stay Tuned!!!

Tuesday, October 11, 2011

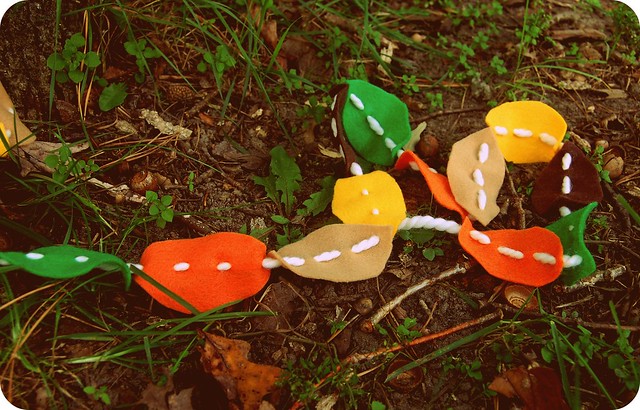
FO: an autumnal garland.

fo: an autumnal garland.


fo: an autumnal garland.


fo: an autumnal garland.

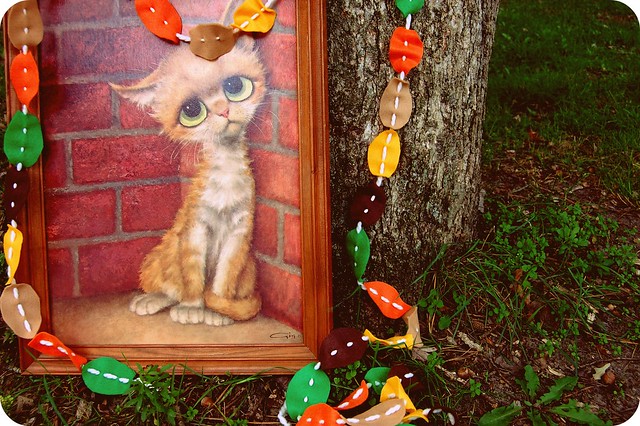
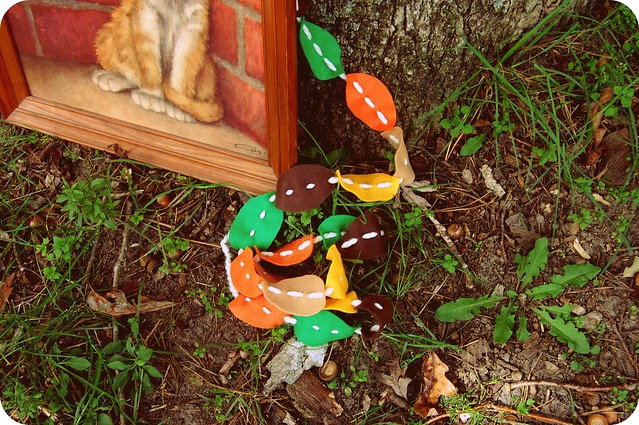
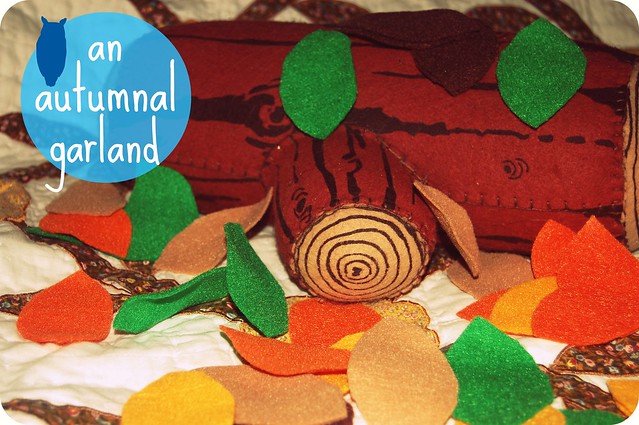
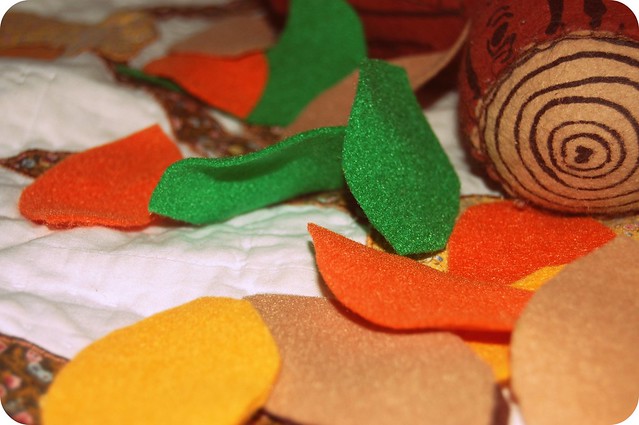
Can you believe it? I actually finished something!

Materials: Cheap felt and a piece of scrap yarn.
Time: 2 hours? maybe? I made while I watched TV.

Isn't it cute? I have to figure out how to take a decent picture in the house so I can show you what it looks like hanging in my living room. Until then, enjoy these ones :-)

<3
Robbie.

Coming up...
-the finished Bird Mask.
..
-Vintage Halloween Inspiration
-a pile of Finished Fabric Pumpkins
-WIP: Punching (ANOTHER) Rug.
-A Haircut
-and maybe a finished sock?
...Stay Tuned!!!!

Thursday, October 06, 2011

WIP: an autumnal garland.

WIP: an autumnal garland

I know, I'm certifiable, right?
I should just finish something.

Here's the thing: I love to have something small and easy to work on while I watch t.v. at night.
I'm bored with pumpkins. I needed a break and I have a really good garland spot picked out.


WIP: an autumnal garland.


So, yeah.

I'm making another thing.

<3
Robbie.

Coming up...
-the finished Bird Mask.
-Vintage Halloween Inspiration
-a pile of Finished Fabric Pumpkins
-WIP: Punching (ANOTHER) Rug.
-A Haircut
-and maybe a finished sock?
...Stay Tuned!!!!

Wednesday, October 05, 2011

WIP: bird mask.

WIP: bird mask.

It seems like I have 50 projects going at once. I do. It's not even overwhelming, though. As it just so happens, I have a project for each mood.

Lazy = making pumpkins on the couch while watching bad TV.
Bored = punching a rug for crafts class.
Super Focused = picking up stitches on the heel gusset of my jaywalker sock.
Ambitious= cutting out crepe paper feathers for the bird mask.

Fortunately, I've started all of my autumnal crafts with enough time to finish them before November (which is really exciting!). I'm usually over ambitious and put far to much on my proverbial plate and then feel overwhelmed by all of it.


Tonight, I'm actually going to do a test run for a guest tutorial on the sparrows and arrows blog. It maybe genius. I hope it works out the way I've planned. Here's to good crafty-karma! Send me some positive vibes, okay?

What are you up to?

<3
Robbie.

Coming up...
-the finished Bird Mask.
-Vintage Halloween Inspiration
-a pile of Finished Fabric Pumpkins
-WIP: Punching (ANOTHER) Rug.
-A Haircut
-and maybe a finished sock?
...Stay Tuned!!!!


Tuesday, October 04, 2011

WIP: Fabric Pumpkins

DSC_0124

DSC_0121

DSC_0115

This is just a sneak peek of some pumpkins I'm making using Danielle's tutorial.
I'm not much for scary Halloween decorations. I tend to like really cute "autumnal" sorts of things. I'll give you all the details when these lil' guys are finished, I promise!

Have a fun Tuesday night!

<3
Robbie

Coming up...
-A Work in Progress: Bird Mask.
-Vintage Halloween Inspiration
-Finished Fabric Pumpkins
-Punching (ANOTHER) Rug.
-A Haircut
-and maybe a finished sock?
...Stay Tuned!!!!

Friday, July 22, 2011

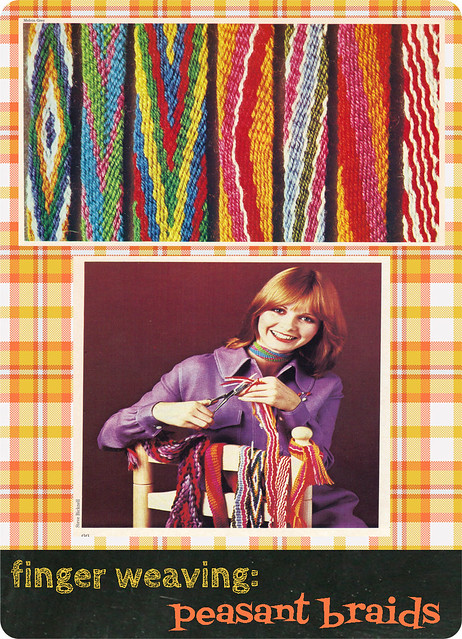
Encyclopedia of Craft; Volume 1: Peasant Braids.

finger weaving

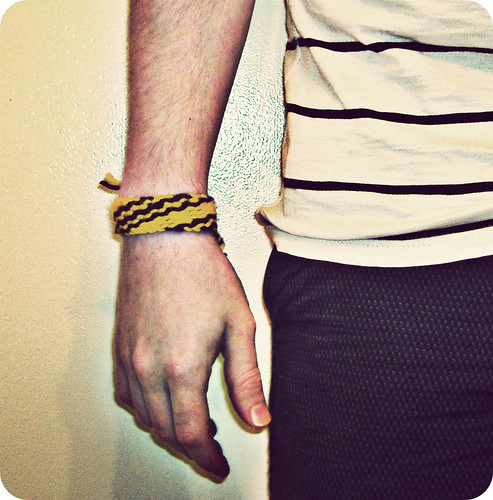
I'm three projects into the Vintage Craft Encyclopedia project, and I am loving it! I'm really learning a lot about different techniques, and it's all been really interesting.

I had a little trouble figuring out how to finger weave. The directions weren't really that clear about how to start off. After a handful of times, I finally got it.

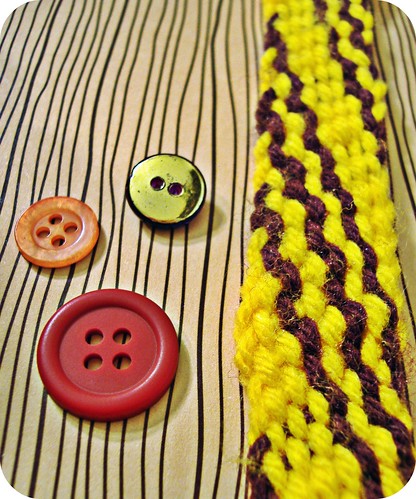
This little bracelet didn't really take long, about half an hour and it helped use up a little of the growing pile of acrylic yarns in the craft room.

peasant braid

Real Life Updates:

-The kitten is still wild! We are now sleeping on the couches, and letting her stay in our bedroom. It's the only room that seems to keep her quiet, and I'm willing to do anything for a little sleep at this point.

-There were so many good ideas for migraine remedies! I'll have quite the arsenal the next time one strikes. I wanted to thank each of you individually, but blogger seems to "block" everyone's email address in the comments. So, THANK YOU all!!!! I am seriously considering monitoring what I eat. I had no idea!

<3
Robbie.

peasant braid 2

Coming Up...

-Yard Sale Highlights!
-A Work in Progress; The Bathroom.
-The First Roll of Film From My Diana Mini
-Acrylic Stash-busting + Vintage Craft: God's Eye

...and much more

Tuesday, June 14, 2011

Tutorial: Confetti-Dipped Gifts

finished + dino

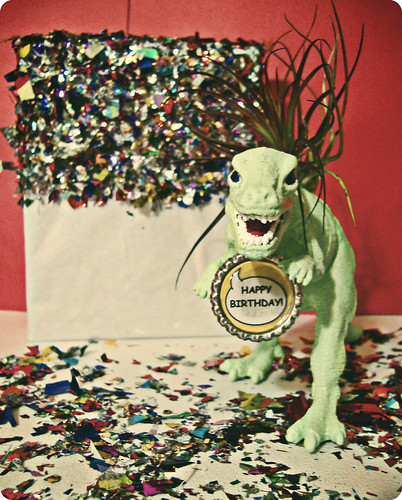
I want to make it abundantly clear that I'm not taking credit for this idea.
I was inspired by a post found at Tokketok, last week. After seeing it, I rushed to the craft store to buy confetti. I was the most excited. They give a quick run down on how to do it on the blog, but I though it would be fun to do a step-by-step "tutorial" with pictures.

plain package

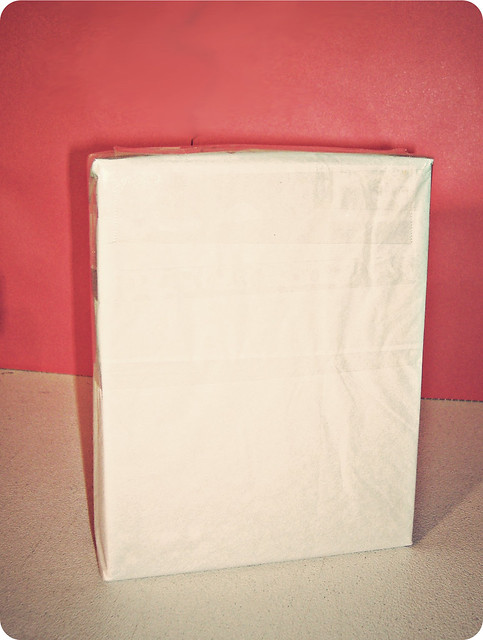
1. Wrap gift in tissue paper. Place double stick tape (or packing tape turned inside out) on the places where you want the confetti to stick. Take 75 pictures of it. The tape is invisible, it won't show up. Change batteries in the camera.

confetti dipped

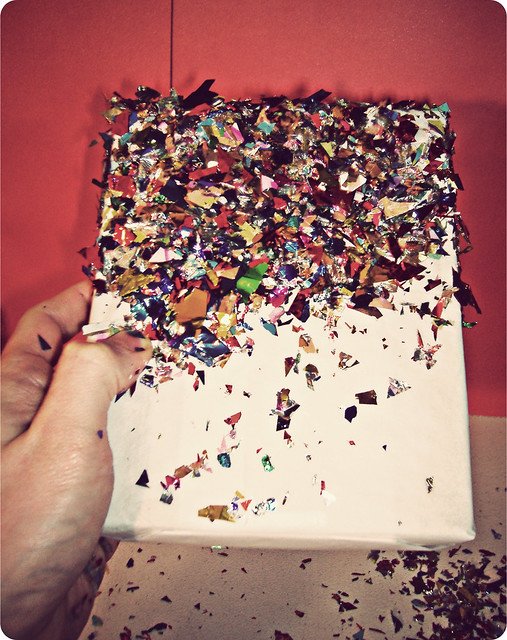
2. Dump confetti onto the tape. Do this as haphazardly as possible. Make sure to get it all over the room. If you're not making a giant mess, try holding some in your hands and blowing it around like fairy dust. LOCK THE CATS OUTSIDE OF THE ROOM. They will be very excited, and possibly start sliding their paws under the doors. This is a trick. They just want to eat the sparkles. DO NOT LET THEM IN!

make a mess

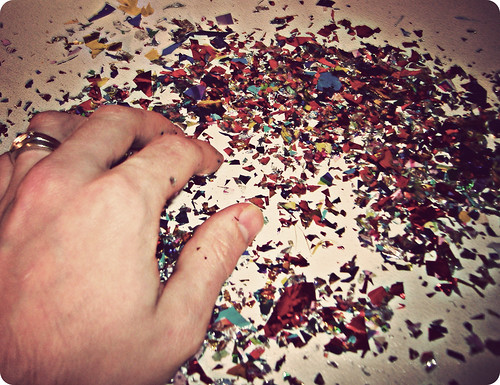
3. This is approximately what your mess should look like. An oval shape is pleasing to look at. If you have a rectangle, you're doing it wrong. Push the confetti around with your hands. Extra points if they are kind of sweaty and you can get the confetti to stick to them. THIS IS THE MOST IMPORTANT STEP!


finished gift

4. After shaking off the excess onto the rug this is what your finished gift will look like. Be sure to vacuum after having the most fun ever. The recipient will laugh at first, don't get upset. After that they will look sort of confused while they slowly peel the "safe" end open. Vacuum again. Eat cake!

Coming up....
-Styling Thrift Store Finds with Tram
-A Vintage Inspired Birthday Card
-A List of Photoshop Actions I Use
-Our Bathroom Makeover